How to Create & Submit a Pull Request (PR)
Initial steps ☀️
Step 1: Select a ticket under the ‘To Do’ column to work on from your team’s Jira board. In the Jira board, move that ticket to the ‘Started’ column.
Step 2: Open up the Milmove repo in your code editor. Make sure you’re on the main branch. Do a git pull to ensure you have all the latest changes.
Step 3: Create a new branch off of main for your ticket. The typical naming convention is [your initials]-[Jira ticket number]-short description of task.
Ex: bp-MB-13507-change-aoa-language
Step 4: Start working on your ticket and code away!!
Step 5: Now that you feel you’ve completed the tasks needed for your ticket and you’ve pushed up all your work, your code is ready for review. It is time to submit a PR!
Creating a PR ⭐
Step 6: Go to Milmove’s GitHub. On the homepage, you should see at the top your most recent push along with a green button that says ‘Compare & pull request’. Click on this green button.

Step 7: Next, you will see a pre-made description delineating the information you need to write for your PR (as shown in screenshot below). This description should state your Jira ticket number, the steps reviewers need to take to replicate and see your change, and for good measure, add any relevant screenshots for more clarity. Feel free to check out your teammates’ PRs as well to help you get an idea of what to write. Example PR
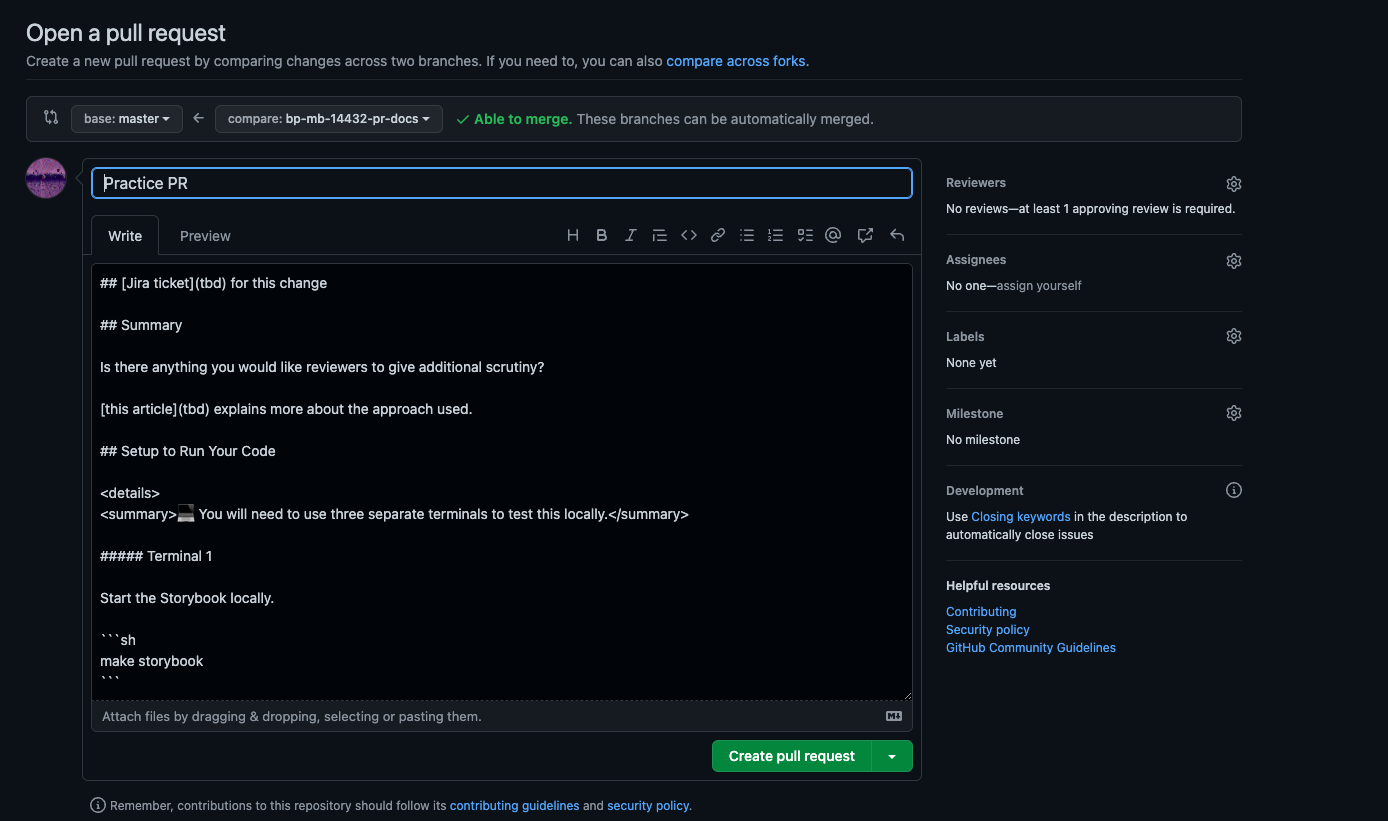
Writing a PR description ✏️
Step 8: First things first, gotta give your PR a title. There is a required naming convention for the title: [Jira ticket number]-brief description of task. Brackets needed.
Ex: [MB-13507] Changed AOA language for Customer PPM Form
a) Next, provide the link to your Jira ticket.
b) Under the “Summary” section, this is where you may add in any special details you believe reviewers should be aware of. For example, explaining why you wrote some code the way you did, why you chose this approach instead of another.
c) “Setup to Run Your Code”-thankfully there is already boilerplate info there, so no need to touch this section.
d) Under “Additional Steps”, this is where you add the steps reviewers need to take to view and check your changes.
e) The “Verification Steps for Author” section is where you check to ensure your PR is ready for review. (See the Final Touches section below for more info on requesting reviewers).
f) “Verification Steps for Reviewers”- section for reviewers. Feel free to delete any sections here that are not pertinent to your PR. For ex: if your PR is frontend only, then you can delete the database section.
g) “Screenshots”-attach any relevant screenshots. Ex: for Frontend updates, a screenshot that displays the change you made in the app
Final Touches 👌
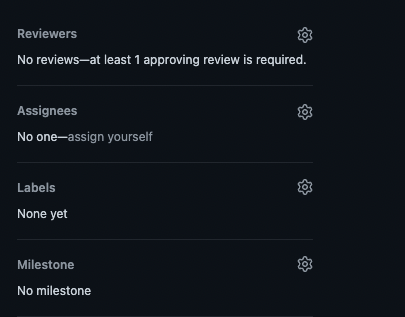
Step 9: On the right hand side, you’ll see some categories that you need to assign values to. Specifically, we will focus on the “Reviewers” and “Labels”.
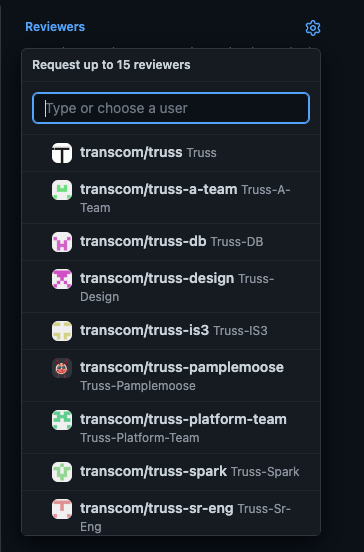
a) Under “Reviewers”, select your team from the dropdown. If you are making a change to the Frontend that also affects the layout/design of the app (i.e. adding a new form on a page), you’ll need to also select the “truss-design” team. Similarly, if you are making a change to the database, you’ll also need to select the “truss-db” team.
At least 1 engineer from your team needs to approve your PR in order for you to merge it in.
If you also need design/database review, one person from those teams will need to approve your PR as well.
Please note: Depending on what parts of the code your PR touches, some reviewers will be automatically assigned to the PR. For ex: if your PR is frontend and you have code changes in Storybook or .scss files, the truss-design team will be automatically assigned as a reviewer.
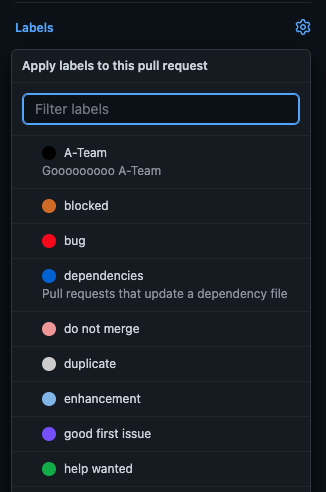
b) Under “Labels”, select your team name.
Submitting a PR 🎉
Step 9: Proofread and do a once-over to ensure all the necessary details are mentioned in your PR. When you feel it is good to go, click that green “Create pull request” button!
You should now see your PR in the Pull requests page.
Step 10: Go back to your Jira board. Move your ticket from the “Started” column to the “In review” column.
Merging your PR 💯
Step 11: Once you’ve received the necessary approvals for your PR and all the checks have passed, it is time to merge it into main.
FIRST APPROACH
a) Scroll down in your PR page, towards the bottom you’ll see a list of checks that get run. If you’re making changes in the Frontend, you’ll usually get Happo diffs and a failing test for this as a result. Make sure a designer also approves your Happo diffs prior to merging your PR.

NOTE: If any of your CircleCI tests fail, click the “details” link to get more info.
Depending on whether your ticket is frontend or backend, you should run
make_client testormake_server testlocally respectively, to make sure all tests are passing before you commit your changes & submit a PR.
-If client test or server test fails, that means either a) the code changes you made affected another thing and it caused the failing test or b) you need to make revisions and adapt the tests to account for the changes you’ve made.
-You can also run Cypress locally withmake e2e_testto reproduce the issue.Cypress integration tests can sometimes be flaky as denoted by the ‘flaky’ CircleCI labels and can fail sporadically as well. These tests you can try re-running if it fails.
b) Make sure to regularly pull from main to keep your branch updated with the latest before merging. Otherwise, you’ll get a warning that states ‘branch has conflicts…’
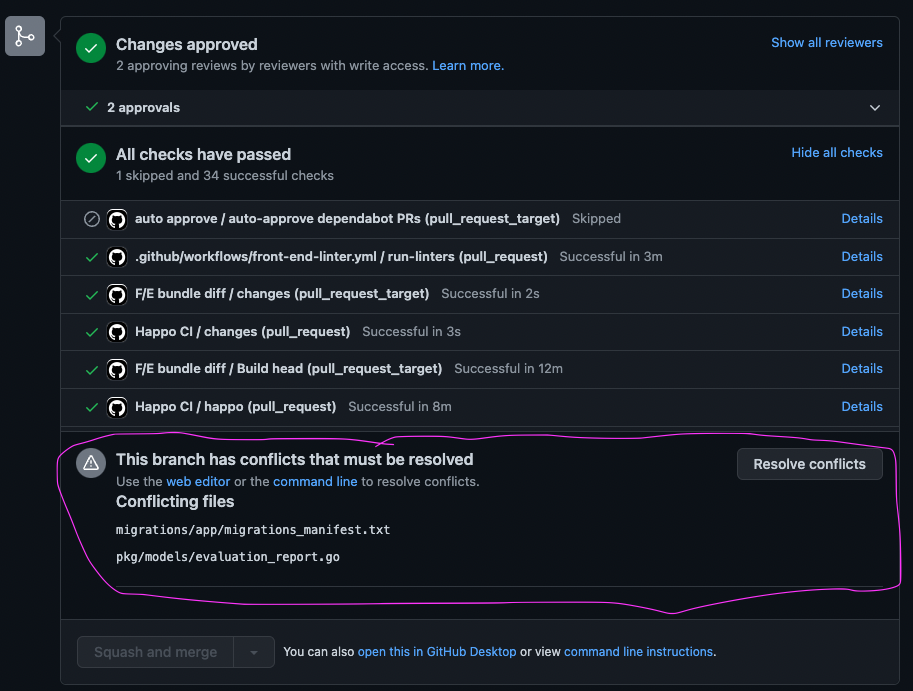
c) Once you see 3 green checks for a) changes approved, b) all checks passed, c) branch has no conflicts, you’ll see the bottom green button “Squash and merge” is enabled. Go ahead and CLICK THIS BUTTON!

SECOND APPROACH
Another way of merging your changes is using Mergify.
Pros of using Mergify
- Don't have to manually merge main and can ensure that your code passes the tests before merging. Especially if you forget to pull the latest from main, you may come across tests breaking. Mergify helps you here.
Con of using Mergify
- Can take a while, especially if there are multiple merges happening at the same time. Mergify has a queue of jobs that it tries to merge in order so you may be blocked by other merges. Nonetheless, it is very seamless and simple.
- Can get "merge happy" and prematurely merge before getting all the necessary reviews and approvals. For ex: it might merge your PR after only getting a design review when your PR needs both design and code reviews.
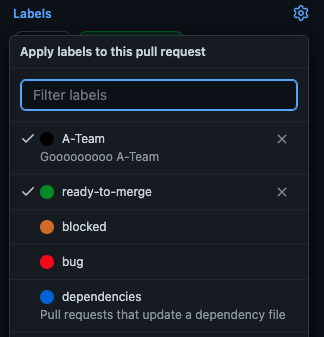
NOTE: That is why it is important to only assign the "ready-to-merge" label AFTER you know you have gotten all the necessary reviews and approvals for your PR.
How to use Mergify
a) Under the “Labels” section on the right, select “ready-to-merge”.
b) Soon you’ll almost immediately see that GitHub is automatically running checks and merging your branch into main!


CONGRATS! YOU HAVE SUCCESSFULLY MERGED YOUR PR! 🎊
Step 12: After merging your PR, go back to the Jira board and move your ticket from the “In Review” column to the “Ready for Acceptance” column.